Over the years, I’ve discovered that optimizing your iPhone studio can significantly elevate your artistic projects. In this guide, I’ll share imperative tips and techniques that will help you harness the full potential of your device, ensuring your creative expression shines through. With the right setup, lighting, and tools, you can transform your ideas into stunning visuals that captivate your audience. Let’s explore the world of iPhone artistry and unlock the perfection waiting in your pocket.
Key Takeaways:
- Utilize high-quality lighting to enhance the details and colors in your artwork.
- Experiment with composition and framing to improve visual interest and storytelling.
- Leverage editing apps to refine your images, adjusting brightness, contrast, and saturation for a polished final product.
Understanding Your iPhone Studio
Familiarizing yourself with the elements of your iPhone studio sets the foundation for artistic success. I’ve learned that each component plays a vital role in the creative process, influencing everything from the quality of your images to the overall aesthetic you aim to achieve. By mastering your setup, you’ll harness the full potential of your device, streamlining your workflow and enhancing your artistic output.
Key Components of an iPhone Studio
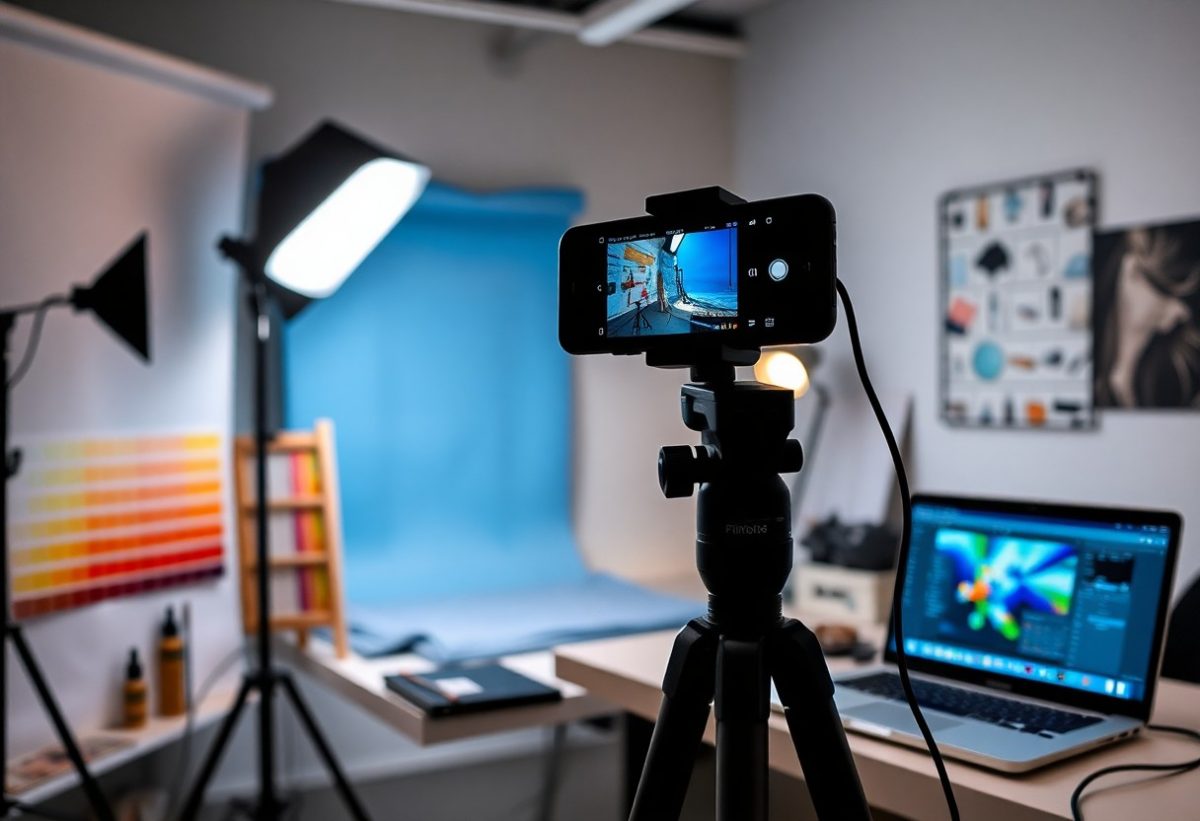
Your iPhone studio consists of several important components. These include a stable tripod for steady shots, quality lenses for varied perspectives, and effective editing apps for post-processing. Additionally, a sound understanding of your iPhone’s settings and features is equally important, enabling you to customize your approach based on your artistic vision.
The Importance of Lighting
Lighting plays a fundamental role in your iPhone studio, directly affecting the mood and clarity of your images. Natural light often yields stunning results, but I’ve found that investing in artificial lighting can provide versatility for indoor shoots. Properly managing light sources not only enhances texture and color but also helps eliminate unwanted shadows.
For example, I often use softbox lights or ring lights to create a controlled environment, ensuring that details shine without harsh contrasts. Utilizing reflectors can also enhance natural light, guiding it to highlight the subject’s best features. Understanding how to manipulate light can transform ordinary shots into striking pieces of art, reinforcing the necessity of this component in your iPhone studio setup.
Optimizing Camera Settings
To achieve cinematic quality with your iPhone, fine-tuning your camera settings is vital. Adjusting parameters like resolution, frame rate, and stabilization can significantly enhance your project’s visual appeal. Make sure you explore different features in the Camera app and utilize third-party apps for added control, ensuring you get the most out of your device.
Recommended Settings for Different Scenarios
Depending on your shooting environment, settings will vary. For bright daylight conditions, set your iPhone to shoot in 4K resolution at 30 fps for vibrant colors. In low-light situations, switch to 1080p at 60 fps to reduce noise. If you’re capturing fast action, consider 240 fps for smooth slow-motion footage. Adapt these settings to maximize your artistic vision.
Tips for Focus and Exposure
Achieving the right focus and exposure can elevate your footage. Tap to focus on your subject and adjust the exposure slider by swiping up or down. Locking focus ensures consistency across shots, particularly in changing light conditions. For better results, I often use manual focus features available in various camera apps.
- Use touch focus to achieve sharp images.
- Adjust exposure for balanced lighting.
- Lock camera settings for consistency.
- Experiment with manual controls in third-party apps.
- After establishing focus, keep an eye on your framing.
Experimenting with focus and exposure settings can lead to stunning results. I find using lock mode beneficial when shooting static scenes, as it maintains clarity throughout a sequence. You can also manipulate depth of field using portrait mode, adding a professional touch to your images. Understanding these nuances enhances your overall craft.
- Try using grid lines to balance your composition.
- Utilize HDR mode in high-contrast environments.
- Choose a low ISO for less grain.
- After fine-tuning focus, observe how light interacts with your subject.
Utilizing Apps for Artistic Enhancement
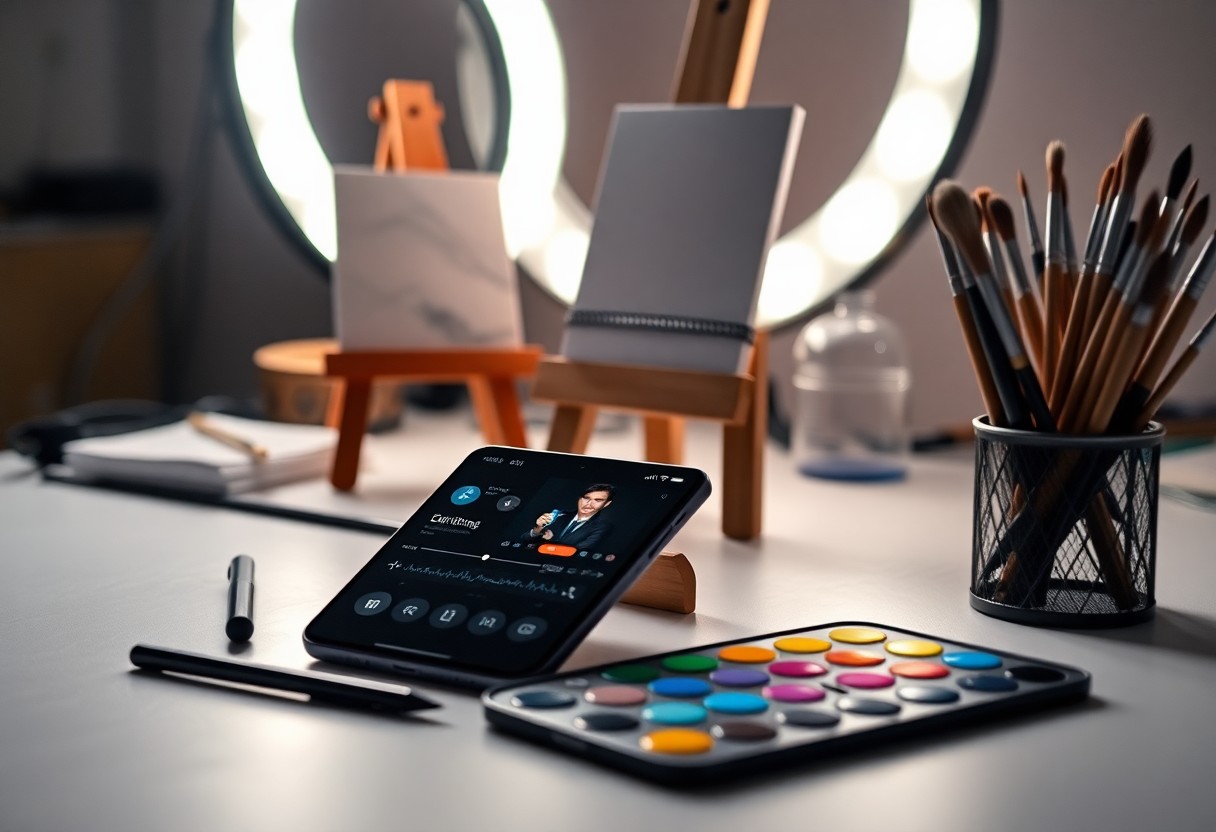
Apps are indispensable tools for elevating your artistic endeavors on the iPhone. They offer remarkable features for editing and enhancing your creations, bringing your artistic vision to life with ease. With a plethora of options available, you can choose applications tailored to your specific needs, whether you’re focused on photo manipulation, video editing, or adding unique effects. The right app can boost your creativity and streamline your workflow, making it easier to achieve your desired aesthetic with your smartphone.
Top Apps for Editing and Effects
Among the myriad of editing applications available, Adobe Lightroom, VSCO, and Snapseed stand out for their powerful tools and user-friendly interfaces. Adobe Lightroom excels in professional-grade photo editing, offering extensive adjustments for exposure and color. VSCO is ideal for its unique filters and community-focused approach, while Snapseed provides robust capabilities like selective editing and healing brushes. Combining these apps unlocks endless opportunities for artistic expression right from your iPhone.
How to Choose the Right App for Your Needs
Selecting the perfect app hinges on understanding your artistic goals and the type of content you produce. Assess the features most important to you-do you prioritize filters, fine-tuning adjustments, or perhaps intuitive design? Check reviews for insights on usability and performance. Each app has its strengths, so consider trying out a few to see which aligns best with your workflow and enhances your creative output.
When exploring different apps, it’s beneficial to reflect on your most frequent editing tasks. If you often work with landscapes, apps with advanced color correction tools will serve you better. For portrait photography, focus on apps that offer skin retouching or portrait-specific filters. Familiarity with user interfaces also plays a role; a highly versatile app could be counterproductive if you find it challenging to navigate. Balancing functionality with ease of use is key to making the right choice for enhancing your artistry.
Creative Composition Techniques
In mobile photography, mastering creative composition techniques can elevate your artistic output significantly. By experimenting with various compositional styles, you can create compelling images that resonate with viewers. From utilizing the rule of thirds to applying advanced framing methods, each approach unveils a new dimension of creativity. When you focus on these techniques, you’ll not only enhance your compositions but also develop a keen eye for detail and structure in your photography.
Rule of Thirds and Beyond
The rule of thirds is a foundational principle in photography, advocating for the division of your frame into a 3×3 grid. By positioning subjects along these lines or at their intersections, your images gain dynamic balance and intrigue. Experimenting beyond this rule-like incorporating leading lines or symmetry-can also lead to striking visuals. Understanding these alternative techniques allows you to break the mold and create unique perspectives in your artwork.
Tips for Framing and Angles
Using thoughtful framing and varied angles can dramatically alter your images’ narrative. I often find that moving myself or changing my perspective yields surprising results. For instance, shooting from a lower angle can emphasize a subject’s stature, while framing through natural elements can add depth and context. Keeping your environment in mind and experimenting with different locations will help you discover new narratives within a familiar scene.
- Always consider your background to avoid distractions.
- Use leading lines to guide the viewer’s eye.
- Trial and error can lead to unexpected, innovative compositions.
- Knowing the impact of perspective can drastically enhance your storytelling.
Experimenting with framing and angles is necessary to honing your artistic vision. I advocate for moving around a subject, attempting close-ups, wide shots, and everything in between. Observe how the light interacts with various angles and formats, as this can further enhance your composition. With practice, you’ll uncover optimal perspectives that resonate with your creative intent.
- Consider natural frames like windows or branches to add context.
- Play with negative space to emphasize your subject.
- Watch out for reflections and shadows that can enhance your scene.
- Knowing how to integrate these elements can significantly improve your composition skills.
Sound Quality Optimization
To elevate your audio recordings, it’s imperative to prioritize sound quality. A clear and immersive audio experience enhances the overall impact of your work, making your content resonate more with your audience. Since poor sound quality can detract from even the best visuals, focusing on optimization is key to achieving artistic perfection.
Factors Affecting Sound Quality
Several elements can influence the sound quality of your recordings, shaping how they are perceived. Key factors include:
- Environmental noise
- Microphone quality and placement
- Room acoustics
- Device settings
- Audio compression techniques
This interplay of factors determines your final audio output, so it’s worth evaluating each one critically.
Best Practices for Recording Audio
Implementing effective methods during recording can significantly boost your sound quality. Utilize high-quality external microphones, ensure you’re in a quiet environment, and experiment with mic placement to capture the best sound. Additionally, always monitor audio levels to avoid distortion while recording. Keeping these best practices in mind allows for a more polished final product.
Investing in a directional microphone can help to reduce ambient noise and enhance clarity. Positioning the mic closer to the sound source will yield richer tones and minimize unwanted background sounds. I advise testing various settings and environments to find the perfect balance for your unique project. Always review your sound recordings before finalizing, as even small adjustments can make a notable difference.

Maintaining Your Equipment
Regular maintenance of your iPhone studio equipment ensures longevity and top-notch performance. Neglecting proper care can lead to decreased functionality and compromised work quality. Making equipment maintenance a habit can save you time and resources down the line.
Care Tips for Longevity
To prolong the life of your devices, follow these care tips:
- Clean your lenses regularly to avoid dust and smudges.
- Store your iPhone in a case to prevent physical damage.
- Avoid exposure to extreme temperatures and moisture.
- Keep software updated for optimal performance.
The commitment to routine check-ups pays off in performance and quality.
Organizing Your Studio Space
An organized studio space can significantly enhance your creative workflow. I find that arranging my equipment and tools systematically reduces time spent looking for items and allows me to focus on my art. Consider designating specific areas for different tasks-like a corner for lighting setup and another for editing. Implement storage solutions like shelves or bins to keep your gear accessible yet out of the way. Effective organization not only improves efficiency but also creates a pleasant environment that fosters creativity.
Summing up
With these considerations, I believe you can greatly enhance your iPhone studio for artistic perfection. By paying attention to lighting, sound, and composition, you can elevate your creative projects. Experimenting with different settings and tools will allow you to discover what works best for your style. I encourage you to refine your workflow and embrace new techniques to achieve the results you envision. Ultimately, your dedication to optimizing your space and equipment will reflect in the quality of your artistic endeavors.
FAQ
Q: What steps can I take to improve the lighting in my iPhone studio for better artistic results?
A: To enhance lighting, utilize natural light sources by positioning near windows during the day. Consider using softbox lights or ring lights for controlled illumination. Experiment with diffusers to soften harsh shadows and avoid overexposure. Adjust exposure settings in your camera app to better suit the scene.
Q: How can I effectively arrange my workspace to enhance creativity and productivity?
A: Organize your supplies and tools within easy reach to maintain workflow. Use a clean and clutter-free space to prevent distractions. Incorporate inspiring elements like artwork or plants to foster a creative environment. Ensure your workspace is well-lit and comfortable to enable longer, efficient sessions.
Q: What are the best apps to use for editing photos and videos captured on my iPhone?
A: Top editing apps for iPhone include Adobe Lightroom for advanced photo adjustments, VSCO for filters and presets, and iMovie for video editing. Consider using Snapseed for comprehensive editing tools and Canva for incorporating graphics. Explore these options to find which best suits your artistic needs.