You can achieve stunning, professional-quality photos with just your iPhone and a well-organized studio setup. In this guide, I’ll share effective techniques for lighting, composition, and camera settings that elevate your photography game. By the end of this post, you’ll have the skills to transform everyday scenes into captivating images, all using the powerful tools in your pocket. Let’s get started on creating visually striking photos that will impress your audience.
Key Takeaways:
- Utilize natural lighting to enhance image quality and create depth in photographs.
- Experiment with different angles and perspectives to obtain a more dynamic composition.
- Employ editing apps to refine colors, sharpness, and overall presentation of your shots.
Understanding Your iPhone Camera
To truly harness the power of your iPhone for professional-looking shots, it’s important to familiarize yourself with its camera capabilities. Knowing how to navigate various functions can elevate your photography significantly. Each model comes with different features; newer iPhones boast enhanced low-light performance and faster autofocus, enabling you to capture stunning images with ease. Understanding these aspects will allow you to leverage your device better in various shooting conditions.
Camera Features and Settings
Exploring the settings within your iPhone’s camera app can unlock a range of creative options. For instance, utilizing HDR (High Dynamic Range) enhances details in both bright and dark areas. I often adjust the exposure manually for better control over how light interacts with the subject, allowing for more dramatic effects or softer tones. Additionally, the grid feature helps with composition, making it easier to apply the rule of thirds for balanced images.
Utilizing Different Lenses
Your iPhone may come equipped with multiple lenses, each offering unique perspectives for your photography. Switching between wide-angle, ultra-wide, and telephoto lenses allows you to capture more detail or expand your frame creatively. I find that using the ultra-wide lens can provide a dramatic effect, especially in landscape shots, while the telephoto lens is perfect for close-ups without distortion.
When utilizing different lenses, consider the context of your shot. The wide-angle lens works wonders for capturing sweeping landscapes or large group shots, allowing more of the scene to fit into the frame. Conversely, the telephoto lens excels in portrait photography, delivering flattering compression and isolating subjects from their background. Experimenting with these lenses lets you unlock unique perspectives and enhances storytelling in your images, making each shot more impactful.
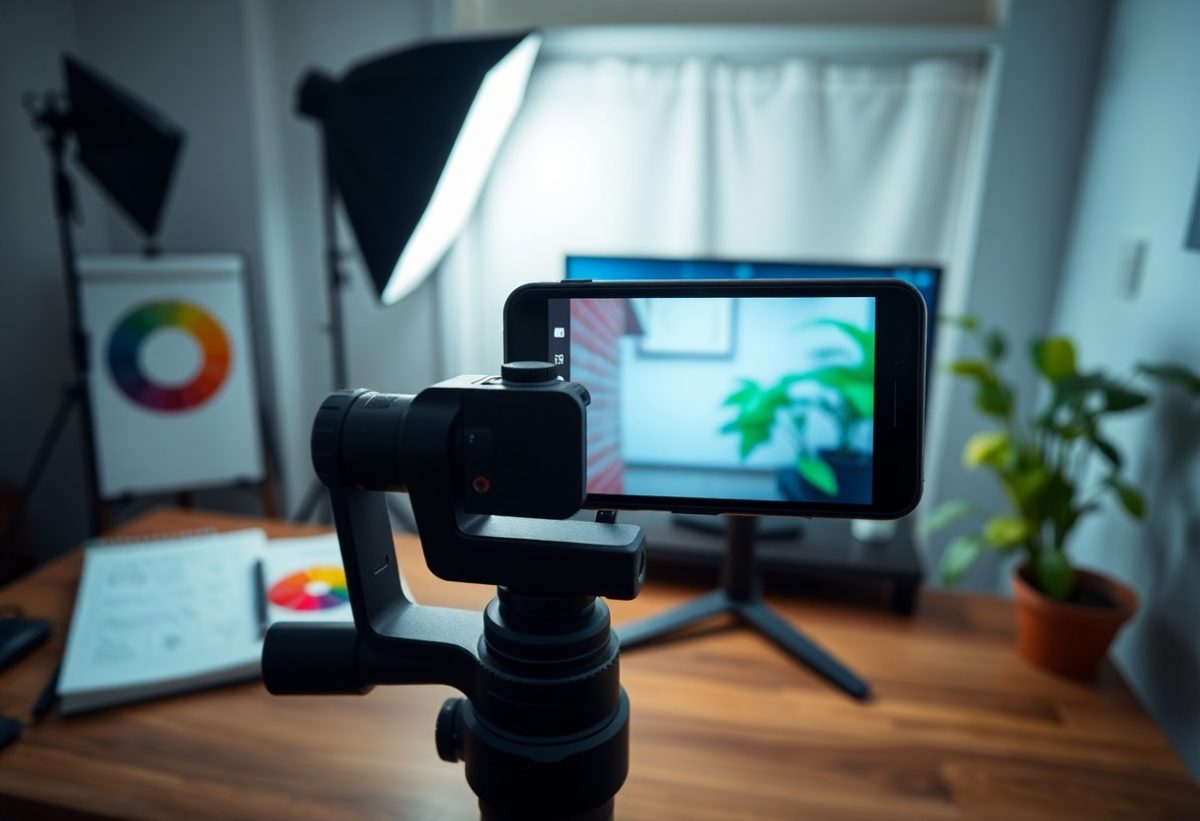
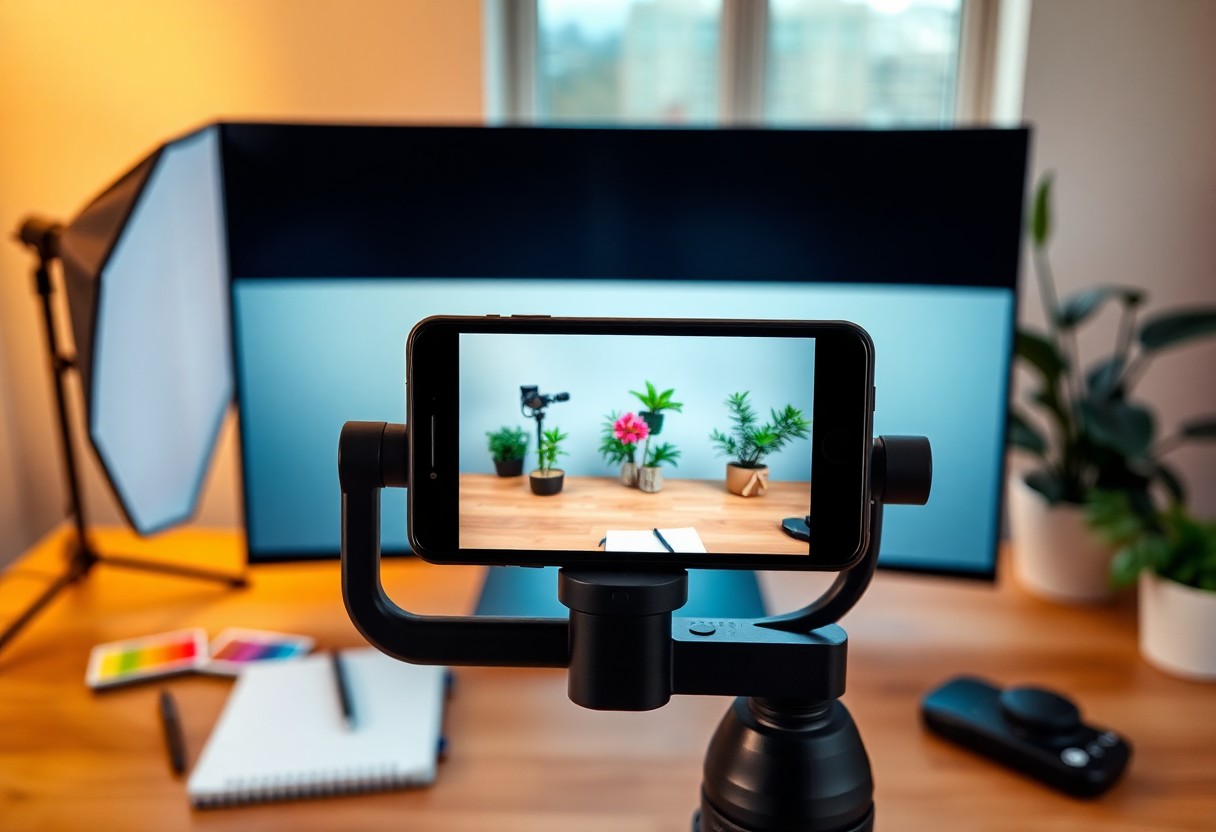
Setting Up Your Studio
Creating a well-organized studio setup is crucial for capturing professional-quality images with your iPhone. Assess your space and choose a layout that allows for easy maneuvering, ample lighting, and minimal distractions in the background. Your studio should reflect the style of photography you’re aiming for, whether it’s clean and minimalistic or vibrant and dynamic. By controlling these elements, I can produce the best results that elevate my photography to a professional level.
Choosing the Right Location
Selecting the ideal location for your studio is key, as it can significantly influence your photos. I prefer spaces with ample natural light and a neutral backdrop that doesn’t compete with my subjects. If indoors, ensure you have room to set up equipment comfortably, or consider outdoor options that add an engaging element to my photos. The right setting should inspire creativity while ensuring my subjects remain the focal point.
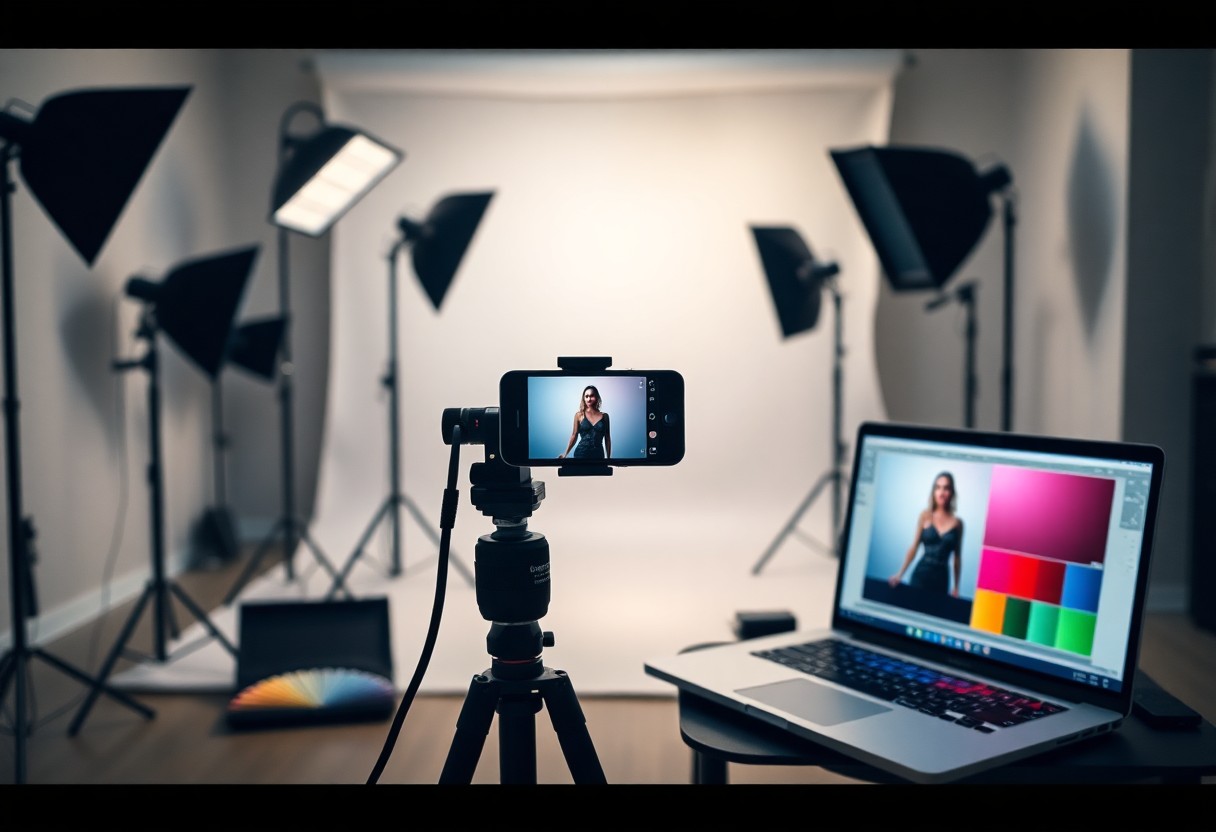
Lighting Tips for Optimal Shots
Lighting plays a pivotal role in photography, and I focus on utilizing both natural and artificial sources effectively. I often position my subject near windows to take advantage of soft, natural light, or I use a ring light for a more controlled environment. Avoid harsh overhead lighting, which can create unflattering shadows. Experimenting with light diffusers can also soften illumination, enhancing the overall quality of my images.
- Position your subject to face the light for brighter, clearer images.
- Utilize reflectors to bounce light onto your subject and reduce shadows.
- Consider the time of day; early morning or late afternoon light is often the most flattering.
- Use artificial sources if natural lighting is insufficient.
- Any combination of lighting strategies can help transform your photos.
Understanding how light interacts with your subject can elevate your photographs. I find that shooting in the golden hour provides a warm glow that enhances skin tones and adds depth to my images. Experimenting with different angles can also yield surprising results, as light changes dramatically depending on its source and direction. In challenging lighting conditions, I rely on editing apps to adjust brightness and contrast post-shoot.
- Test different exposure settings to find the perfect balance in your shots.
- Incorporate shadows creatively to add dimension to your photographs.
- Consider using softboxes or LED panels for an even spread of light.
- Adjust white balance settings to achieve true-to-life colors.
- Any adjustments in lighting can drastically improve image quality.
Composition Techniques
Mastering composition is key to elevating your iPhone photography to a professional level. This involves understanding various techniques that guide the viewer’s eye and create a visually pleasing image. By implementing these composition strategies, I can enhance my photographs significantly, making them more engaging and powerful.
The Rule of Thirds
Utilizing the Rule of Thirds can transform ordinary shots into compelling compositions. By dividing your frame into a grid of nine equal parts, you can place key elements along these lines or at their intersections. This technique encourages a more dynamic balance, making your images visually engaging. I often find that just shifting my subject slightly can elevate the entire photo.
Leading Lines and Framing
Leading lines and framing are powerful tools for directing the viewer’s attention. Lines such as roads, paths, or architectural features can guide the eye towards the focal point of the image. Additionally, using natural frames like windows or doorways adds depth, creating a layered look. When I incorporate these elements, they not only enhance the story of the photograph but also create a sense of perspective that draws viewers in.
Enhancing Your Shots
After capturing your images, the next step is enhancing your shots to achieve that polished, professional touch. Leveraging tools for editing allows you to emphasize details, correct any imperfections, and transform an ordinary image into a striking visual. Utilizing the right techniques can significantly elevate your photography game, making images not only more appealing but also more impactful in conveying your intended message.
Editing Apps and Tools
To get the most out of your photos, I recommend exploring editing apps like Snapseed, Lightroom, and VSCO. These platforms offer a range of features, including filters, advanced color adjustments, and cropping tools. With user-friendly interfaces, they allow quick edits that enhance your photography without needing extensive editing knowledge.
Color Correction Techniques
Color correction is a vital aspect of photo editing that can dramatically affect the final output. Adjusting the white balance, saturation, and contrast can bring out the true essence of your image. I use specific techniques such as tonal mapping to ensure that the highlights and shadows complement one another, creating a balanced look that captivates the viewer.
For effective color correction, I often start with white balance adjustments to eliminate any unwanted color casts, especially in portraits or outdoor shots. Utilizing tools like sliders for vibrance and saturation allows me to enhance the colors without making them look unnatural. Balancing contrast is equally important; I focus on deepening shadows and lifting highlights to add dimension. I also make use of selective color adjustments to fine-tune specific hues, ensuring they resonate with the mood of the image. Employing these techniques transforms my images from flat to vibrant, making them stand out in any portfolio.
Shooting Tips for Professional Results
To elevate your iPhone photography, you must adopt specific techniques that amplify the quality of your shots. Key strategies include the following:
- Utilize grid lines to enhance composition.
- Optimize lighting by positioning your subjects near natural light sources.
- Use the HDR setting for better detail in high-contrast scenes.
- Experiment with the focus and exposure settings for optimal clarity.
- Perceiving the subtle differences in your adjustments can lead to stunning final images.
Stabilization Strategies
Using stabilization techniques is crucial for avoiding unwanted blur in your shots. I often rely on a tripod or a stabilizer to secure my iPhone, especially in low-light conditions. If a tripod isn’t available, resting the device on a steady surface can significantly improve shot stability. Engaging the camera’s timer function mitigates handshake issues, ensuring that your images are sharp and clear.
Experimenting with Angles and Perspectives
Varying your angles and perspectives can alter the entire narrative a photograph conveys. I frequently explore shooting from above or below eye level to capture unique dimensions in my images. Shifting your position even slightly can reveal new textures and shapes in your subjects.
To further enhance your storytelling, consider the rule of thirds while framing your shots. By placing key elements along these lines or intersections, you can create a more engaging composition. Moreover, don’t hesitate to tilt your iPhone slightly for dynamic shots that add excitement and depth. The more you experiment, the more you’ll discover the distinct character your images can possess.
Preparing for the Final Edit
Once you’ve captured your images, the next step is to prepare them for editing. This involves organizing the photos effectively so you can easily navigate through your shots. By keeping your files structured, ideally in folders by shoot date or project, you can save time and streamline your editing process. Additionally, having a backup is wise; consider using cloud services as a safeguard against unexpected data loss.
Organizing Your Photos
I find that organizing my photos immediately after a shoot helps maintain clarity in my workflow. Creating dedicated folders on my device or cloud storage for each project allows me to categorize images by session or theme. Using descriptive filenames, like “sunset_shoot_2023,” can also aid in quickly locating specific images when needed.
Selecting the Best Shots
After organizing your images, the next step is selecting the best shots to edit. I typically go through my gallery, marking the top contenders based on composition, exposure, and emotion. It’s often helpful to take a break before finalizing this selection, allowing me to return with fresh eyes to make clearer decisions.
In my experience, the selection process is about more than just technical quality; it’s about storytelling. Images that resonate emotionally or capture a unique moment stand out. I often rely on tools like the “Favorites” feature in the Photos app to highlight potential edits. Limiting the selection to about 10-15 top images is useful, as it allows for focused editing without becoming overwhelmed. Prioritizing those shots that align with your intended message will lead to a cohesive final product.
Conclusion
Presently, I encourage you to experiment with your iPhone studio setup to elevate your photography skills. By applying the techniques I’ve shared, you can create professional-looking shots that capture attention. Pay close attention to lighting, composition, and editing, as these elements will enhance your images significantly. With practice and patience, you’ll have the ability to produce stunning visuals that reflect your unique style and vision.
FAQ
Q: What are the best lighting conditions for shooting professional-looking photos with my iPhone studio setup?
A: Utilize soft, diffused lighting, ideally from natural sources or softbox lights. Position your setup near windows for even daylight. If shooting indoors, use LED lights with adjustable brightness to mimic natural light, and avoid harsh shadows by bouncing light off walls or using reflectors.
Q: How can I improve the composition of my shots using my iPhone?
A: Employ the rule of thirds by enabling the grid feature on your iPhone camera. Position key elements along the grid lines or intersections. Experiment with various angles and perspectives, such as low or high shots, to cultivate unique compositions. Additionally, declutter backgrounds to emphasize your subject.
Q: What post-processing apps are recommended for enhancing photos taken with an iPhone?
A: Popular apps include Adobe Lightroom for fine-tuning exposure, contrast, and color grading. Snapseed offers advanced editing features and filters. VSCO provides stylish presets for a polished look. These tools assist in achieving a professional finish while maintaining the integrity of your iPhone images.